On October 31st we entered our 3rd year in our home. But since we moved in, the only place I've neglected is our guest bedroom. Thanks to Greg and his woodworking skills (a little brag about my hubby was in order, as he really did an awesome job!), the room has a beautiful, rustic, queen-size guest bed, which I topped with really cute bedding. But unlike the rest of our home, our guest bedroom still doesn't have that homely feel - it's just not welcoming or warm enough. With the holidays approaching, we decided to give that project a start and step-by-step turn our guest room into an inviting place a guest would feel welcome.
*Affiliate links used in this post*With that plan in mind, I went shopping in our basement. Whaatt? Shopping in a basement for a guest bedroom redo?? Well I have to say, no one should underestimate our basement! It is like a small-scale department store, with all sorts of junk waiting to have a makeover or get up-cycled, like the old lamp I found hidden behind a stack of broken chairs. Although the lamp was outdated and the shade was ripped on one side, I thought trying a little makeover couldn't make it worse. So I grabbed it and got to work. First I thought I should paint the main body, but then I decided that wasn't a good idea, since I didn't know how to repair the ripped shade. After going back and forth between ideas, I ended up somewhere in between rustic and industrial.
With the help of my hot glue gun, I started wrapping lamp's main body with Manila rope. This was a pretty quick process. It took less than an hour to complete it.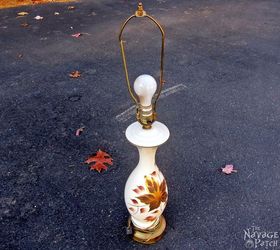 As my plan was to add a bit of an industrial look, I took the lamp apart...
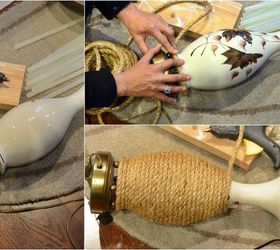 ...and spray-painted all the metal parts with flat black paint. Painting added that little touch I wanted. Then I let the paint dry and cure for 2-3 days.
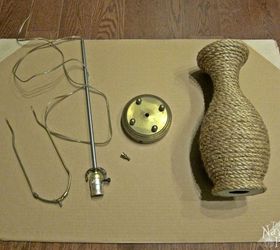 Meanwhile, I started searching for some ideas for the shade and also searched for affordable Edison Bulbs... While I couldn't find any spectacular inspiration for the shade makeover, I managed to find some affordable Edison Bulbs online. As soon as I received the bulb, I got on with putting the lamp together and the moment I lit the lamp I knew what I was going to do with the shade. I tore all the fabric off the shade and spray-painted the frame black.
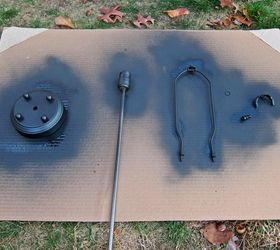 Then I grabbed the Dollar Store waste basket that I got for my crafts room a year ago. First I placed the waste basket on the shade holder then the naked black frame over it, and voila!
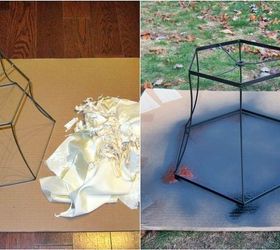
 Here is a close up picture of the beautiful Edison Bulb.
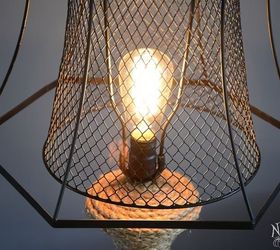 I am so happy with the new look of the 'old' lamp. As we are currently painting the guest bedroom, I didn't want to take any pictures in the room. But I know it is going to look fantastic when I place it right next to the rustic bed that Greg built.
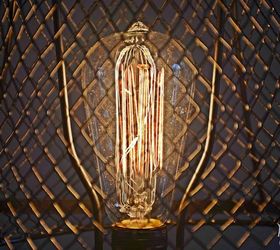

Original article and pictures take http://www.hometalk.com/11292693/the-old-lamp-revamp site
Комментариев нет:
Отправить комментарий